This Christmas I’ve spent some time turning my picture book ‘How to hide a penguin’ an interactive web page, which you can view here.
My aim was to make something light and accessible; the entire storybook is under 2MB file size, it’s responsive, and works well on all major browsers and devices. In a nutshell, I used the BodyMovin plugin for After Effects to create a JSON animation file. I then used Lottie to display the JSON file on a web page, jQuery to control it and link it up to my sound effects, and basic HTML & CSS for the web page itself.
The process is relatively straight forward, so I thought I’d share it here in case anyone else would like to give it a go. For anyone who doesn’t want to go near code, I recommend WebFlow – a website builder with Lottie built in. It allows you to do pretty much everything I’ve done here but without the audio for your sound effects. I started off using WebFlow, but when I realised I’d have to code the audio in myself I became a bit reluctant to pay its monthly subscription, so decided to give it a go myself. It wasn’t as hard as I thought, even with my very rudimentary web dev skills.
This article just outlines the process, and links to relevant tutorials for more detail when required.
Step 1: Create the illustrations in Illustrator
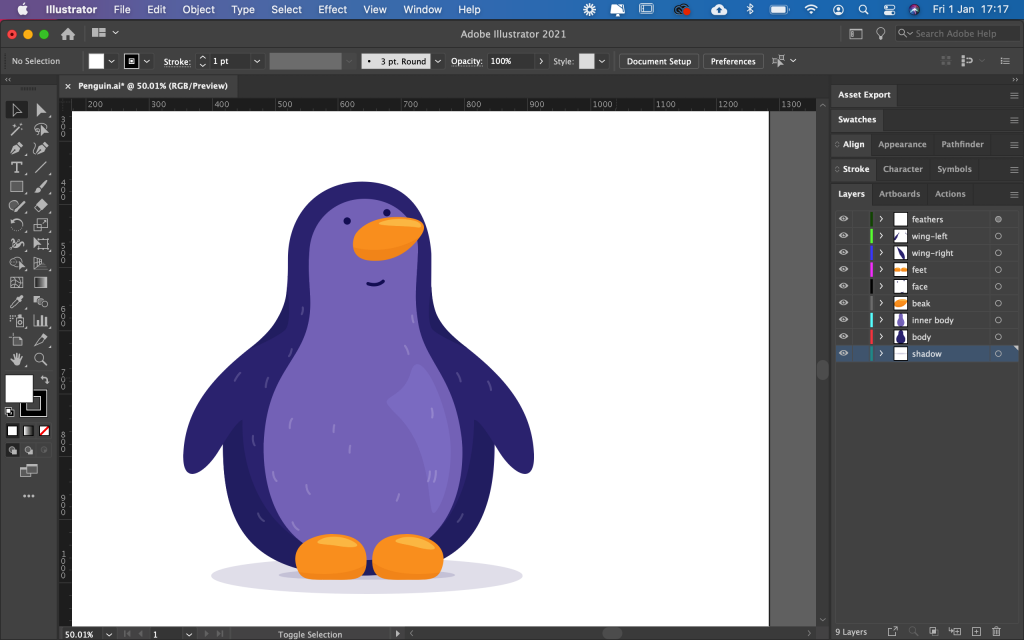
All your illustrations will need to be nice clean vectors. Although you can make them as detailed as you like, bear in mind that the simpler they are, the easier they’ll be to animate. Avoid using clipping masks, as these are not currently supported by Lottie (if you really need them you may be able to find a work around, but I found it easier to avoid them from the outset). Use the illustrator layers to group together the individual parts that need animating.
Step 2: Import your illustrations into After Effects
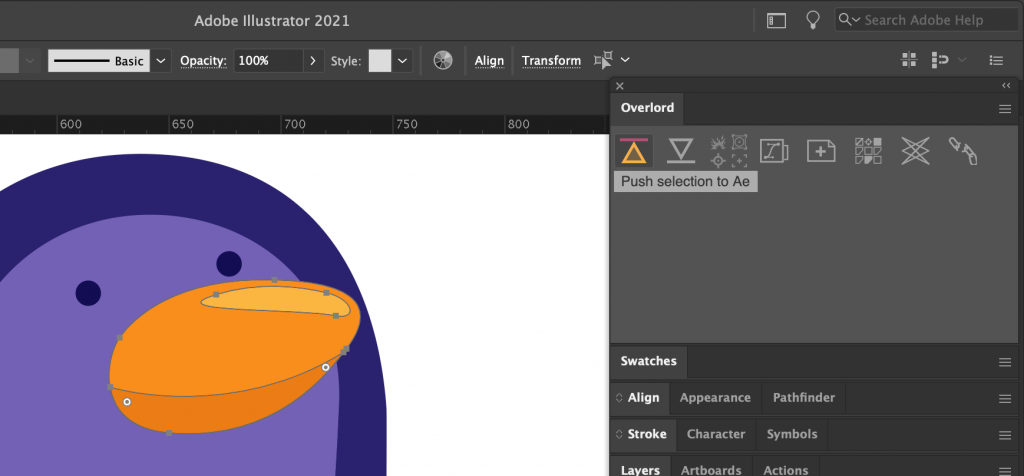
It is possible to save each illustration as an AI file, and then import into After Effects. However this is notoriously hairy (especially when bringing in gradients etc.), so after hours of pain I came across the Overlord plugin. It is a bit pricey ($45), but it does allow you to send shapes into After Effects with one click, and you can also send them back again if you prefer to edit shape paths etc. in Illustrator. It works as well as it says it does, and does make the Illustrator > After Effects transition rather dreamy.
Step 3: Create animations in After Effects
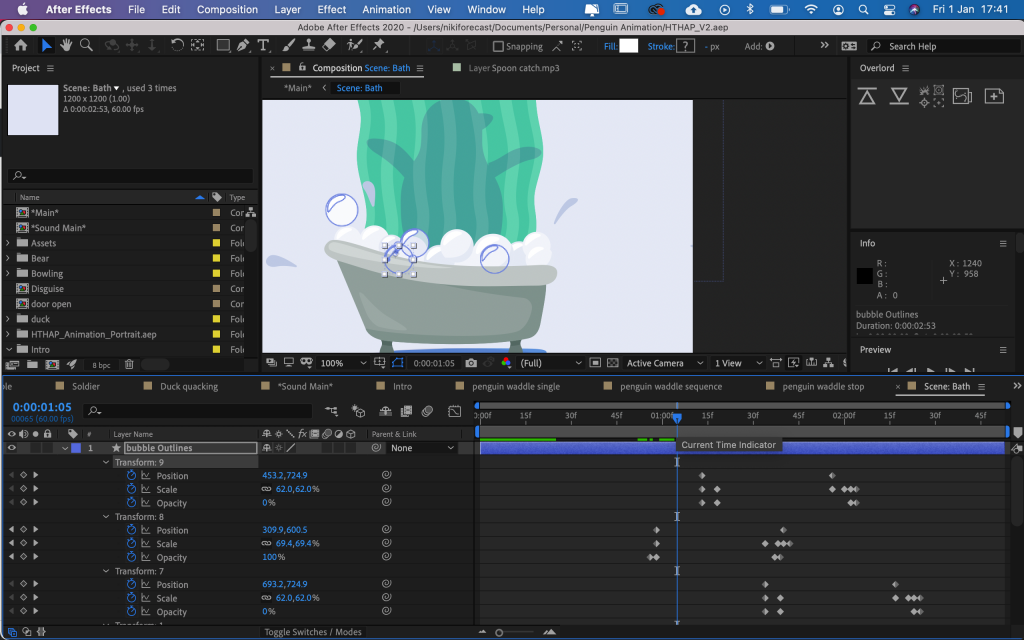
Your animations can be as simple / complex as you want them to be. However be careful using any crazy effects / transitions as these may not be supported by Lottie. I’d keep it simple and test it, then add in the crazy bits after you’ve got a basic animation working. My animations are all relatively simple – I use keyframes to animate shape paths (that’s how you get the squidgy effect), as well as size / rotation / scale etc. There’s lots of incredibly good animation tutorials out there, I wouldn’t know where to begin with a recommendation.
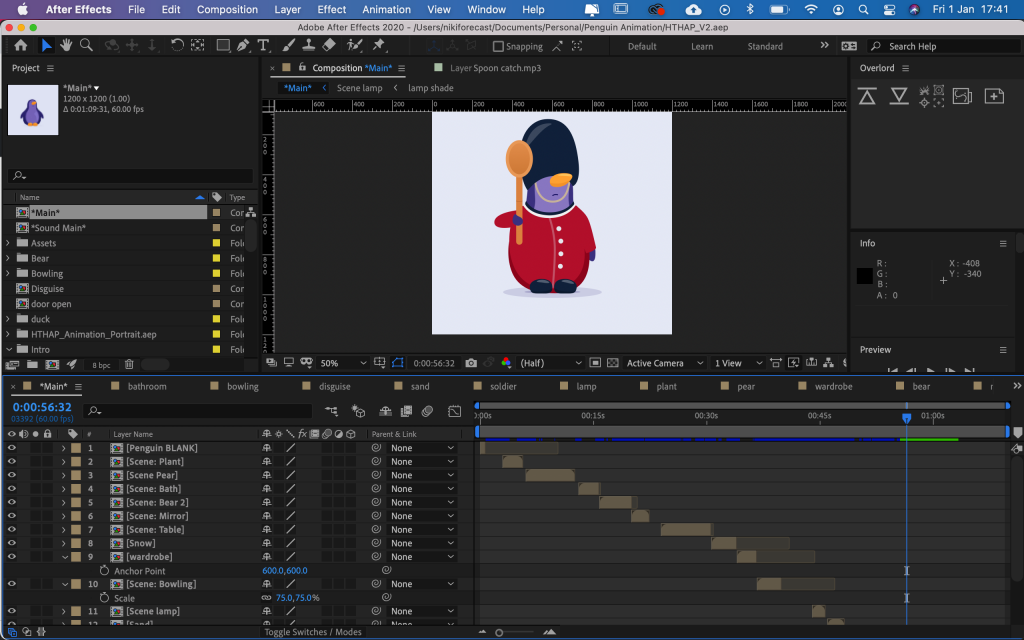
I started off by creating each of my animations (the different pages of the book) as different files, so each could be played individually on the web page. However this made it very slow to load, and bloated the size. Instead I found the best way was to export your entire animation as one single file (made up of your different scene compositions), and then play individual segments for each page. This method of playing segments of a file also works well for creating your sound effects audio file.
Step 4: Export animation using BodyMovin
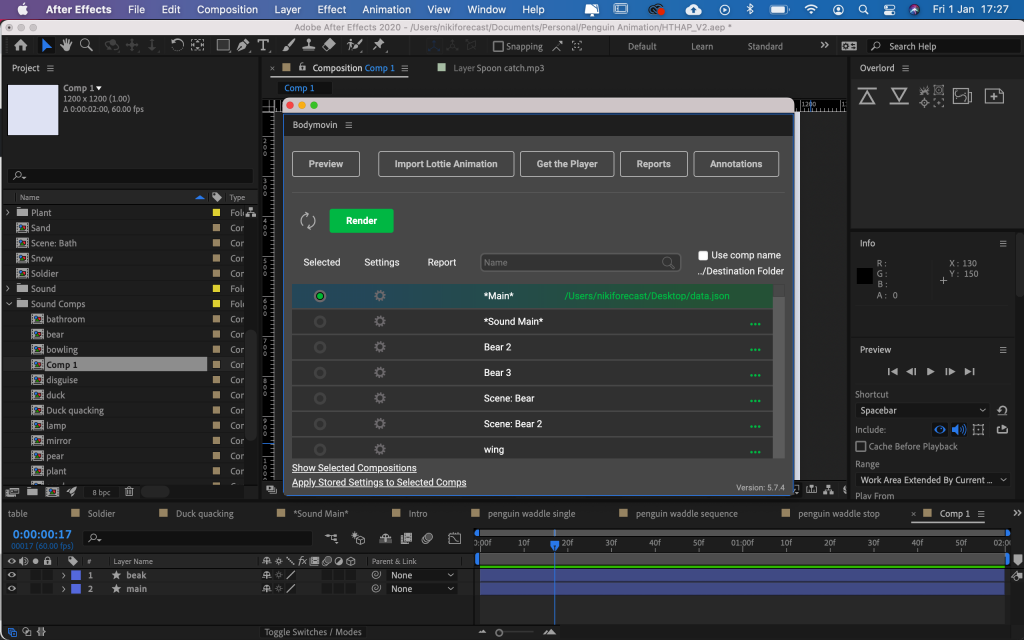
The BodyMovin plugin can be found here and a useful tutorial of how to install it is here. Lottie also has its own plugin for AE, but BodyMovin seems to be the most popular / reliable at the time of writing. It’s a bit of a faff to set up, but once you’ve got it working it should all run seamlessly.
Step 5: Create your web page
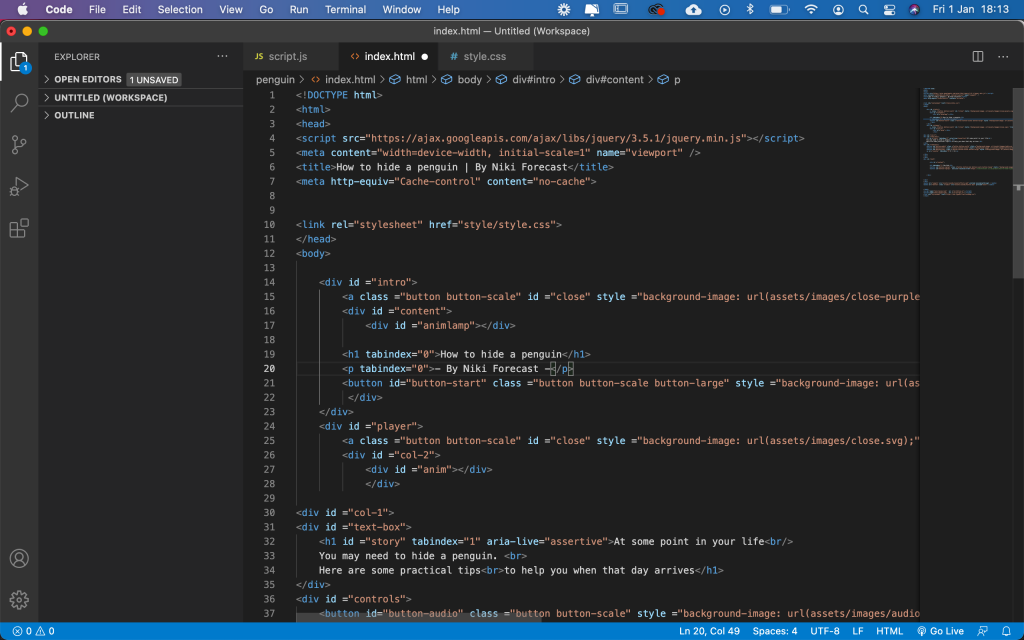
The simple web page is made up of 3 sections: the intro screen, the story book screen (including the text that gets updated dynamically, the animation, and the control buttons), and the end screen with the credits. I use jQuery to flip between them, and the whole page is styled using my rather rusty CSS skills.
Step 6: Add Lottie JS to your web page
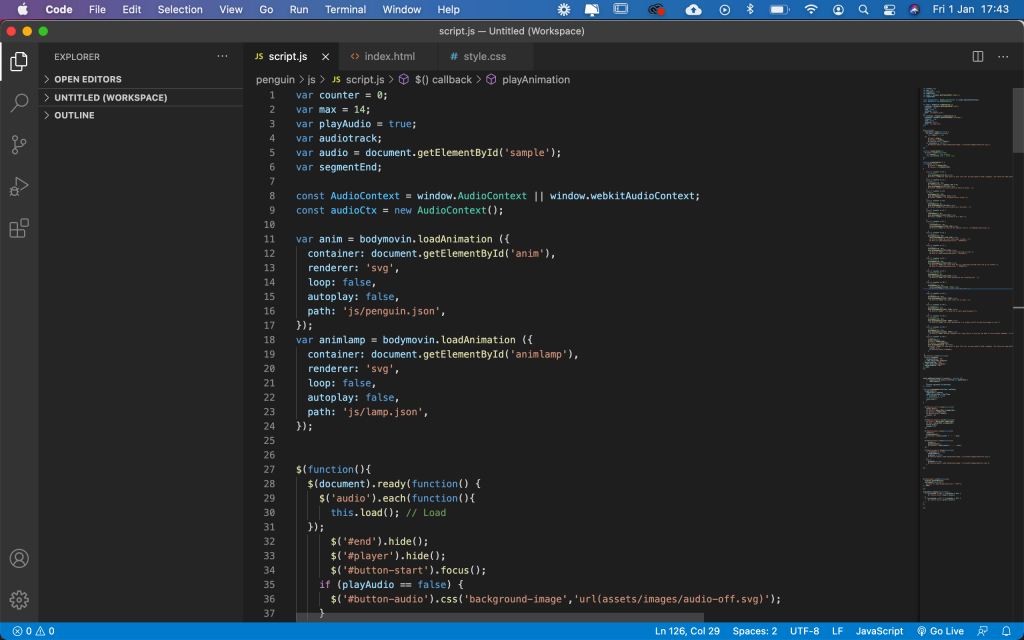
There are a few different ways to get Lottie working on your web page, in the end the method demonstrated in this very helpful tutorial worked best for me. Once you’ve got Lottie installed, you should be able to preview your animation on your web page.
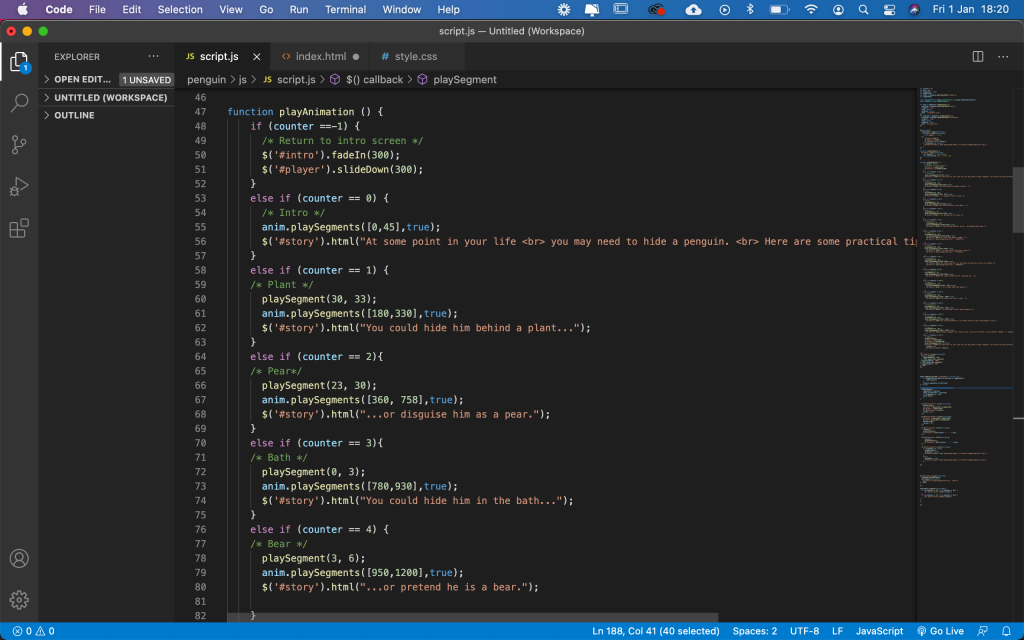
Step 6: Control your animation with jQuery
For those new to jQuery I highly recommend this series of YouTube tutorials that I followed. I’ve done a bit of programming so once I’d got the basics I was able to write the rest of it myself (all be it with a lot of help from some very useful threads on StackOverflow).
My code uses a variable ‘counter’ to keep track of which page the user is on, and plays the relevant section of my animation (#anim) using Lottie’s ‘playsegments’ function. Every time you click the play button, counter is increased which sends it to the next section. I use this wonderful persons code to play segments of a single audio file for the sound effects.
Step 7: Make it accessible
When creating anything for the web, you have a responsibility to make it accessible. I’m by no means an expert on this, but was able to get the fundamentals working:
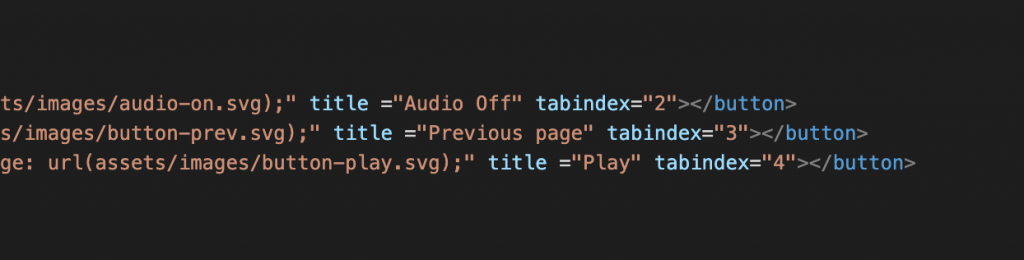
- HTML buttons have descriptive titles (so users using screen readers know what on earth is going on)
- All the visible elements on the page have tab indexes (this is so users can tab through the elements in a logical order). Although in theory this is to help users with motor impairments that struggle to use a mouse, it’s just a very helpful thing to do for all users.
- Clean, logical code
To test your web page accessibility, you can use VoiceOver on your iPhone (or TalkBack on Android), and on desktop try navigating your page just using the tab and enter keys on your keyboard. You can also use automated tools like Lighthouse, but I do recommend learning how to test it manually yourself as automated tools don’t always reflect the actual user experience.
And that’s about it. Best of luck!